Trying Garments On at Home, Like a Fitting Room
- Curve File Editorial Team
- 04 May, 2026
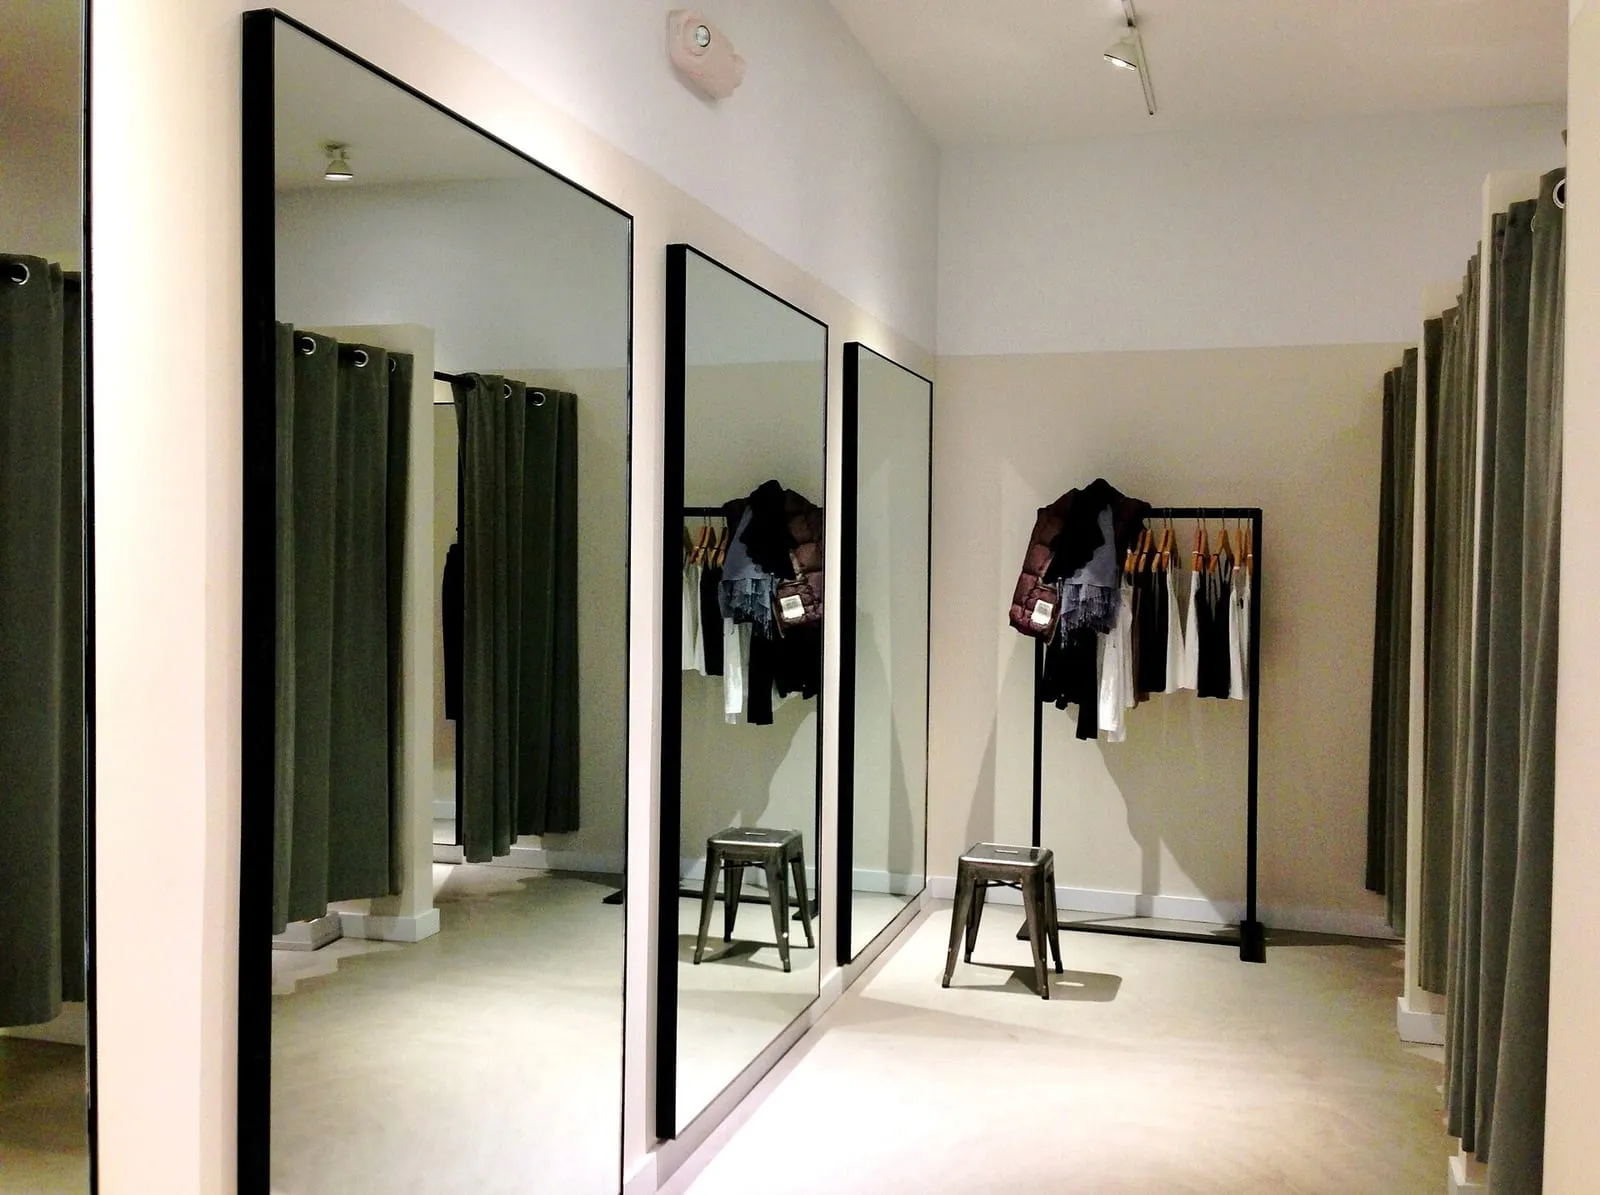
The fitting room is not a place; it is a set of conditions. Light from above rather than from one side, a mirror you can step back from, the underwear and shoes you actually intend to wear, and a fixed sequence of movements that you repeat for every garment so the results can be compared. Reproduce those conditions at home and an online order stops being a guess.
Most returns are decided on the first impression: the colour in the hallway mirror, the way the fabric felt coming out of the bag, whether the photograph matched. A garment that fails a proper test will usually have failed for a reason you could have named, such as a pull across the back or a hem that lifts when you sit. Naming it is what turns a return into information you can use on the next order.
Set aside twenty minutes and a floor that is not covered in other clothes. The aim is not to enjoy the process but to make it repeatable, so that the fourth garment in the same parcel is judged by the same standard as the first.
Set up the light before the mirror
Light decides more of what you see than any mirror does. Overhead light casts shadows downward and reveals the way a fabric falls. A single lamp to one side flattens the surface and hides exactly the diagonal folds that tell you a garment is pulling. Stand where the light comes from above and slightly in front of you, and switch the main light on rather than relying on a window in the evening.
A full-length mirror is the working tool. A mirror on a wardrobe door gives you only one distance; if you can, stand far enough back to see your whole body without leaning, because leaning changes the fit of everything from the shoulder down. A second mirror, or a phone propped up behind you, covers the view that most fitting rooms and almost all product photographs leave out.
Clear the background. A floor covered in bags, a radiator behind your legs and a busy wall all make it harder to compare one garment with another, and harder again to look at a photograph a week later and understand what you were seeing.
What you wear underneath is part of the test
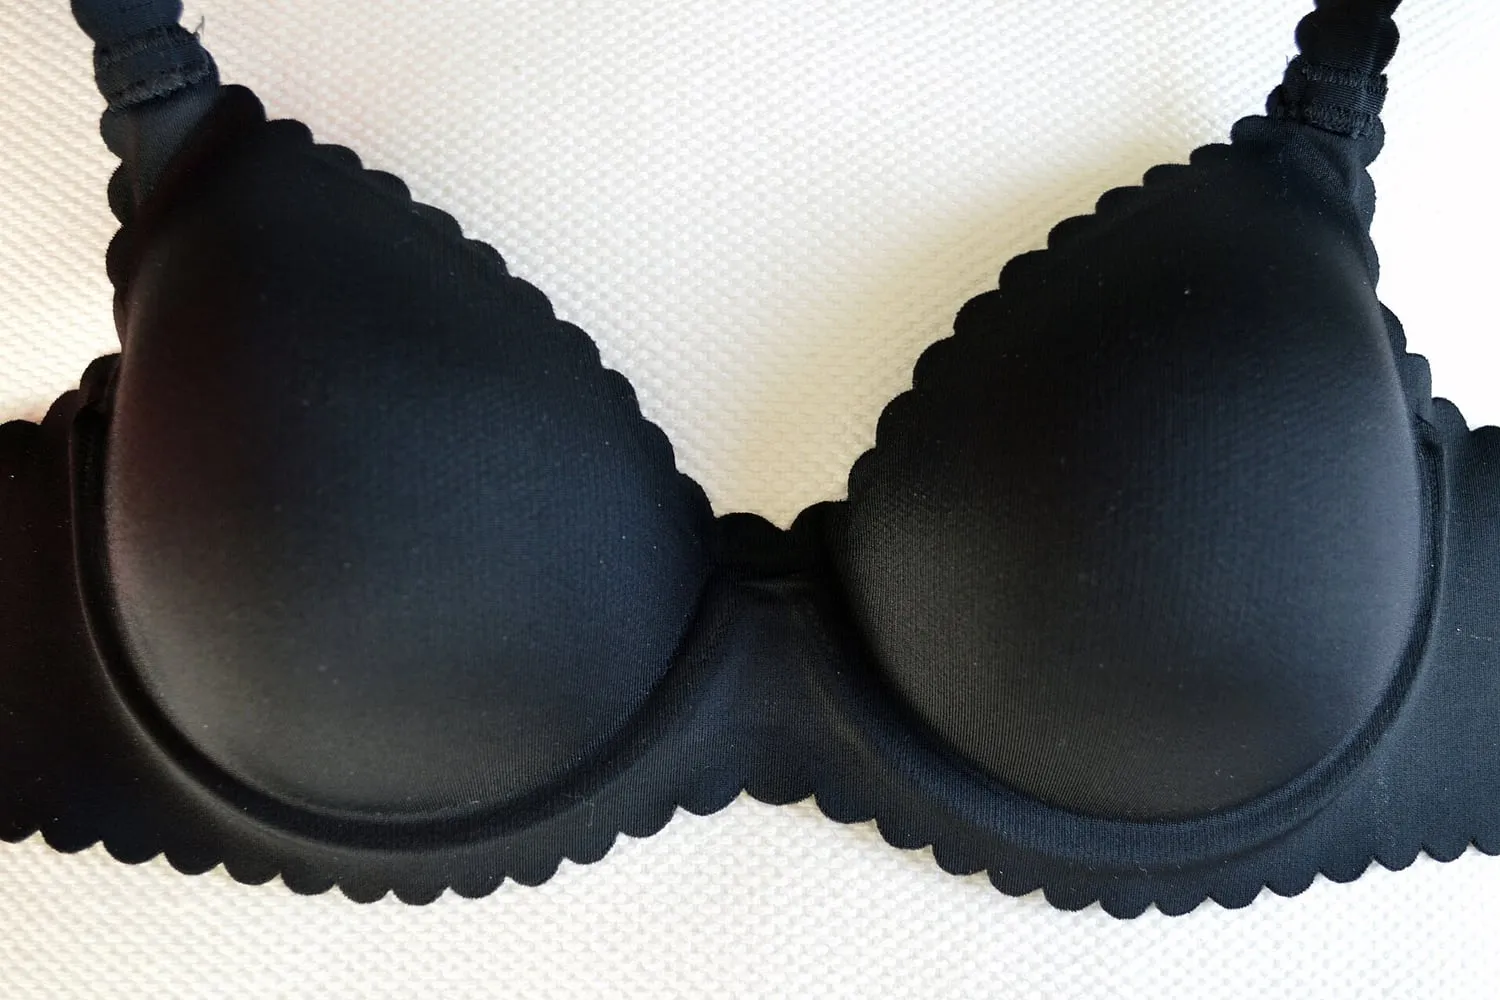
The layer under a garment changes where it pulls. A bra with a different band height, or a different amount of lift, moves the bust point and therefore every seam drafted around it. Trousers worn over a different waistband sit differently at the waist and change how the rise behaves.
Try each garment with the underwear and shoes you would wear it with in real life, and keep those constant while you test. If you plan to wear a garment over a slip or a camisole, put that on as well. If you intend to wear it with a particular heel height, put the shoes on before you look at the hem, not after.
This is not styling. It is control of variables. Two garments judged over the same base layer can be compared; two judged over different ones cannot.
The order of movements
Work through the same actions every time, in the same order, and the garment will tell you where it fails before you have formed an opinion about the mirror.
- Stand still, arms down. Look at the shoulder line first. Seams should sit on the shoulder rather than past it or short of it, and should not climb towards the neck.
- Raise both arms overhead. This is the armhole test. If the whole bodice lifts, the armhole is small or the sleeve cap is high, and sizing up will not always correct it.
- Reach forward as if for something on a low table. Fabric should travel with you rather than pulling across the back and shoulders.
- Sit down on a hard chair. Check the rise, the waistband and the front hem. A hem that lifts sharply, or a waistband that digs in, will do the same thing at a desk or in a car.
- Cross your arms, then bend forward. Both expose tightness across the upper back that standing still conceals.
- Walk a few steps and turn. Watch whether the hem swings evenly or catches on one side, which usually means the side seams are not hanging straight.
A garment that passes all of these is worth keeping even when the mirror is not immediately pleasing. A pleasing look is not a structural property and it does not predict whether you will wear the thing.
Photographs you can actually read
Photographs are for comparison, not for judgement. Take four: front, side, back and seated. Stand in the same spot, at the same distance, in the same light for every garment you test, so the images line up with each other.
Fill the frame with your body rather than the room. Keep your arms relaxed at your sides in the front view, because hands on hips hide the waist and distort the side seam. In the side view, stand with your weight even. In the back view, ask someone to check that the hem is level before you take the shot.
Do not delete the photographs you dislike. They are the record that lets you decide while the returns window is still open, and they are more reliable than memory.
One sentence per garment
Write down, in one sentence, where the garment is being pulled and in which direction. “Tight across the upper back when I reach forward.” “Waistband rolls and digs in when I sit.” “Side seams swing forward at the hem.” A sentence like that is actionable: it tells you what to change in the next size, what a tailor could alter, and whether the problem is one the garment will lose with wear or gain.
Keep the language about the garment. Where it is tight, where it is loose, where it moves against you. Words about how you feel regarding your own body cannot be acted on, and they tend to end the test early.
Deciding inside the returns window
Buy with the window in mind and decide early within it. Try the garment on the day it arrives, in daylight if you can, and photograph it then. If you are still undecided on the second day, sleep on it, but write down the reason for the doubt. The doubt is usually the answer.
If a garment is close but not right, decide whether the fix is a size change or an alteration before the window closes. A size change is usually free; an alteration costs money and may not be possible. Where the shoulders, the armhole or the bust point are wrong, take the refund. Those are structural problems, and the brief for a tailor would be a rebuild rather than an adjustment.
Ordering two sizes is a reasonable strategy when returns are easy, and it becomes a proper fitting when both sizes are tested with the same setup and the same movements.
When to send it straight back
- The garment pulls across the upper back or armhole when you reach forward, in any size that otherwise fits.
- The seams do not hang straight when you stand naturally, and pressing does not correct them.
- The rise is wrong by more than a small amount; too deep or too short is rarely economic to adjust.
- The fabric is thin enough to show every line beneath it, so the fit changes with whatever you wear underneath.
- The shoulders are wrong. Very little downstream can be fixed until they are right.
Send it back and write one line in your notes about why. That line is what you are really buying with the cost of the return postage.